Let me start by saying that replacing a starter on a BMW E36 is a WAYYY bigger pain in the A$$ than it should be. Ever change a starter on a domestic vehicle? Most of them sit at the bottom of the transmission’s bell housing and it takes 15-25 minutes to swap one out. My Ford Ranger starter went out in an O’Reilly’s parking lot and within 20 minutes I had installed a new one. BMW on the otherhand, in all their wisdom decided to install their starters at the top of the bell housing. What this means is that a simple job that any DIYer could perform within 30 minutes suddenly become a 3-5 hour job for most DIYers.
There are two ways to replace a starter on an E36, you can either remove the intake manifold to replace the starter from the top or you can access it from the bottom by removing the transmission or in the case of manual transmissions you can access it from the bottom without having to remove the transmission.
Different people have different opinions concerning whether it is easier to remove the starter from the bottom or the top. I am of the opinion that since there are lots of other parts that fail underneath the intake manifold you might as well replace the starter from the top. I have never removed the starter from the bottom before either so this article will exclusively discuss how to remove the starter from the top.
If you are interested in checking out one of my favorite must have BMW tools (a great scanner) you can find it by clicking here.
The Good News
The good news about this otherwise pain in the A$$ job, is that if your starter has gone bad it’s likely that your vehicle has 100k+ miles on it. What that means is that if you have not replaced your CCV valve, idle control valve or the numerous hoses that run underneath the intake manifold it would probably be a good idea to go ahead and do so! That way you will not be pulling off the manifold any time soon again.
Tools You Need
Sockets- 8mm, 10mm, 11 mm, 13mm, 14 mm, E12mm
Rachet, Torque Wrench (preferably, but not required)
Masking tape & a sharpie
Plastic baggies
Screwdrivers
Pliers, Needle Nose Pliers
Tips to Keep in Mind
1) Whenever I do a major repair on a car with lots of disconnected wires I always have masking tape and a sharpie to label all of the wires. It makes the process of re-installation significantly smoother and it only takes a few seconds to label everything. Everyone who DIYs their cars has been in a situation before where you are putting everything back together and you can’t quite remember which wire went to what part. Avoid that situation by labeling your wires.
2) The plastic baggies are for all your nuts and bolts. Nobody want to make needless trips to autozone because you lost some nuts and bolts. Put your nuts and bolts in individual baggies and label them and you will never have that situation!
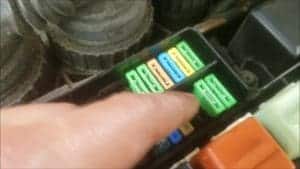
3) If your replacing your starter it is likely that it’s already at the point where you cannot start your car. However, if you can still start your car you should bleed the fuel pressure before disconnecting the battery! To bleed the fuel pressure you will need to remove the fuel pump fuse which is fuse number 18 in the fuse box. After removing the fuse go start the car. The vehicle should start up and then die within five seconds or so.
4) You can pick up a high quality Bosch starter here (check for fit!).

What you did is choke off the fuel supply to the engine by cutting power to the fuel pump. This will reduce the fuel pressure in the fuel rail when you have to remove it.
4) If you have an original radio it will have to be reset after the battery is reconnected. You will need your radio code for that. If you do not have the radio code you can opt to visit a BMW dealership, but I have found it a pain for the dealer to get the code and they usually charge for it.
Procedure
The first critical step after cutting fuel to the fuel pump is to disconnect your battery! Go ahead and do it now because if you forget (and I have forgotten) to disconnect the battery you can seriously injure yourself and/or damage the electrical system if you ground the hot wire to the starter. It has current running to it at all times!
Don’t be me, my dumbass accidentally dropped a wrench when I was removing an intake manifold and the wrench fell on the starter, my heart dropped as I quickly realized that I had forgotten to disconnect the battery.
Wiring Harness
So I have heard that some people disconnect the whole wiring harness in order to remove the intake manifold because of how tight the intake is in the engine bay. This is unnecessary, I have removed my intake numerous times without removing the engine wire harness.
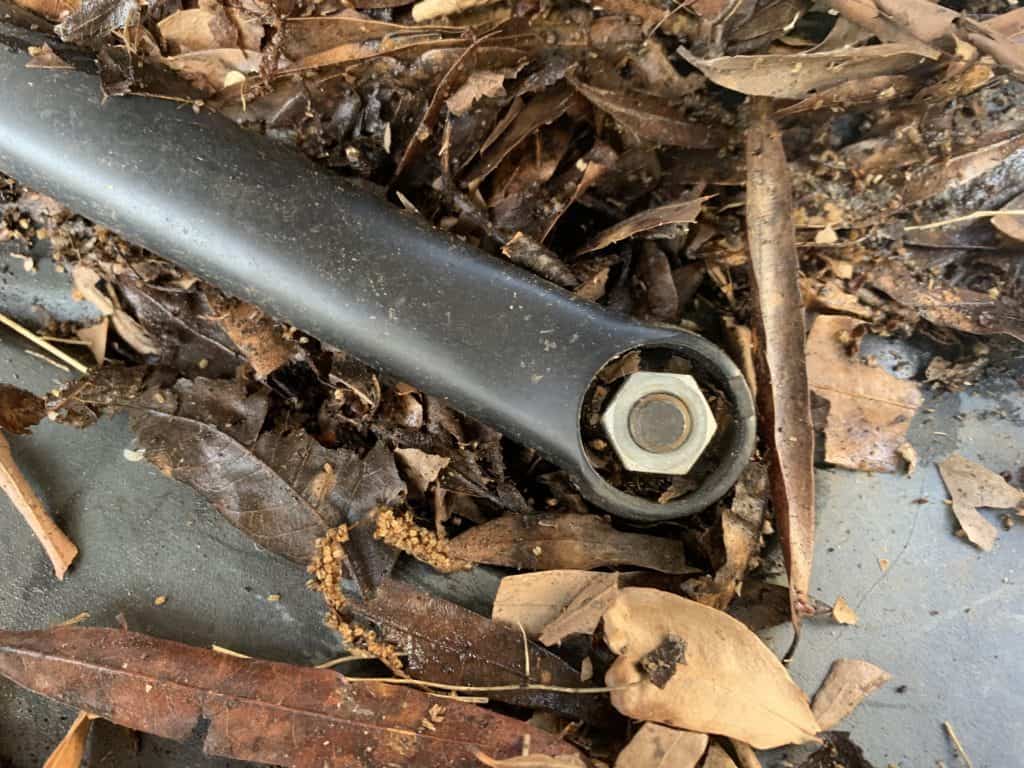
Instead, I pop the cap covering the windshield wiper bolt and remove the windshield wipers with a 13mm socket.

Then remove the six plastic screws on the top of the windshield, there are three on each side and they can be removed by a flathead screwdriver.

At this point you can pull up and remove the plastic wiper cowl.
There are two small screws above the wiring harness that hold it in place at the top.
There are three screws that hold the rubber seal above the harness in place. A 9/32 & 5/16 standard socket fits onto the screws. You can then remove the rubber seal.

Now you have given the wire harness enough space to wiggle out of the way of the intake manifold!
Intake Manifold
Remove the air filter housing, rubber elbow and MAF Sensor. Disconnect the cruise control actuator that bolts onto the air filter housing. Don’t forget to take & label the MAF Sensor wire!
Disconnect the throttle body from the intake manifold by removing the four 10 mm bolts that connect the throttle body to the intake manifold. Depending on which model E36 you have you will either have a single throttle body or a throttle body and a secondary throttle body. The secondary throttle body has “ears” with two long 10 mm bolts that you remove.
DO NOT disconnect the hoses that attach to the bottom of the throttle body, they are coolant lines that connect to the engine head.

***Be careful with the throttle body cables, you don’t want to damage them.
Disconnect the vacuum line that connects to the brake booster and turn it away from the intake manifold.
Remove the 10 mm bolt connecting the dip stick tube to the intake manifold.
Disconnect the CCV hose from the valve cover, you basically just pinch the end and pull it away from the valve cover.
Disconnect the two wire connectors on the fuel rail.

Disconnect the oxygen sensor wires (on the fuel rail) and mark which one goes where.

The fuel rail wire harness is removed by simply pulling up on it.
There are black clips on each fuel injector that hold the fuel injectors to the fuel rail. Remove them, and then remove the two 10 mm bolts that hold the fuel rail onto the intake manifold.
At this point the fuel rail is ready to be removed. I like to shove some paper towels in between the fuel rail and the intake manifold so I can catch some of the fuel that comes out of the fuel injectors. Pull up on the fuel rail with one hand and with the other you can hold onto the fuel injectors so they do not come out with the fuel rail.
Once you have removed the fuel rail from the intake manifold let it air out for a few minutes before proceeding to the next step.
***Hopefully if you pulled the fuel pump fuse and ran the vehicle the escaping fuel should be minimal.***
Now you can begin actually removing the manifold. There are numerous nuts at the top that are easily accessible and then there are two 14 mm nuts that are held to two metal brackets beneath the intake manifold. The 14 mm bolt closest to the front is significantly easier to access than the one closer to the rear but both can be removed.

You can trace the 14 mm nuts by following the two metal brackets underneath the manifold.
I find that the best way to remove the manifold is to get an arm on either side and wiggle it off of the studs. Do Not simply yank the manifold out of the car because once you have it off of the studs there will still be some things to disconnect underneath the manifold. There are several vacuum lines that you will need to disconnect (and mark) and the idle control valve wire should be marked and disconnected.

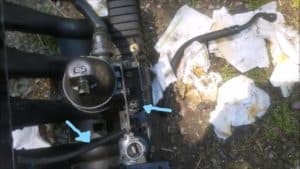
The above arrow points to the intake manifold air sensor connector. The sensor must be removed from the bottom before you pull the manifold.
Starter Replacement

There are two types of starters, pre-1996 and 1996+.
The 1996+ has threaded mounting ears and are significantly easier to remove and install.
The pre-1996 is longer and it must be bolted onto the block with the bracket that usually comes with the starter. It’s easier to change this with a partner.
Double check that the battery is in fact disconnected and then remove the 13 mm nut holding on the large red wire and the black wire to the starter solenoid. There is an additional 8 mm nut holding on a smaller wire and a 10 mm nut that also must be removed.
Once you have disconnected all of the wires to the starter you can remove the starter mounting bolts. There are two Torx bolts holding the starter onto the transmission, remove these two E12 bolts. If your vehicle is a pre-1996 you will likely need an assistant to hold the nuts in place while you remove the bolts.
WARNING: DO NOT use a standard wrench with a 12 point end, this will strip your starter bolt. E36 bell housing bolts are some of the worst bolts you could possibly strip so buy yourself an actual torx socket/wrench!
Once you have removed everything the starter can easily be pulled out of the transmission.
WARNING: Before you install the new starter, double check that it is the same as the old starter!
Related Repairs
Here is just a quick list of associated replacements/repairs that I suggest people have done and that I do when I replace a starter.
CCV- If you have not replaced the CCV valve yet do yourself a favor and go ahead and replace it. When CCV valves blow they can suck up the oil out of the valve cover and destroy an engine.
ICV- This is more of an optional one, idle control valves do not cause serious engine failure if they go out however they will prevent your car from starting. I suggest that you at least clean out your idle control valve.
Knock Sensors- If your BMW has more than 100k miles on it you should replace the knock sensors. They are not very expensive but when they go bad you won’t be able to get the vehicle over 2k RPMs and you have to remove the intake manifold to replace them.
Miscellaneous vacuum/coolant lines- Any old hoses should be replaced, trust me you will thank me later.
Conclusion
That’s it for BMW E36 starter replacement! I hope this article helped you in keeping that E36 on the road!
