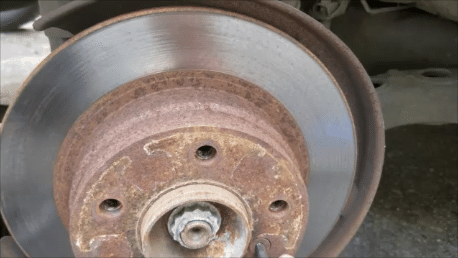
BMW E36 Brake Rotor replacement is a somewhat simple job, and is well within the scope of most DIY’ers. I recently performed a brake rotor and brake pad replacement on my front end. In this article I will discuss why brake rotors need to be replaced, what to look out for when you suspect they are bad, and the process of brake rotor replacement.
Brake Rotors are large metal discs that work in conjunction with your brake pads and brake calipers to stop the car. When you step on the brake pedal, the pads are forced to press against the brake rotors causing the car to slow down. Back in the day cars were equipped with drum brakes, which are a real P.I.A to change out. Luckily for us nowadays, the vast majority of modern cars are equipped with at least front disc brakes, and most are equipped all around with disc brakes.
Overtime brake rotors wear down just as the brake pads do. Rotors are typically paid less attention to than brake pads, but it’s always a good idea to check for warping and the thickness of your brake rotors when replacing brake pads.
On many vehicles it’s often a good idea to simply have your rotors “turned” if they have some warpage, as long as they still have a solid amount of meat left on them. On BMW’s however, it is ill-advised to have your rotors turned. The typical rate of replacement is for every two brake pad replacements you will need new rotors.
Symptoms
The most common symptom of bad brake rotors is probably a squealing noise. Warped rotors will typically produce a squeak, and severely warped rotors will produce a horrible grinding noise. I once replaced the front brake pads on a Ranger, and didn’t notice how warped the rotors were. Five minutes down the road and I realized I needed rotors as well. If you have severely warped rotors, solely replacing the brake pads will amplify the noise. You have to be careful with diagnosing brake rotors as bad based off of noise, because worn brake pads will also cause a squeaking noise.
Another common symptom is vibration in the brake pedal when applying the brakes, especially at high speeds. This vibration can also be felt in the steering wheel. A steering wheel vibration felt when applying brakes is magnified at high speeds and the steering wheel will shake.
Another symptom to look out for are grooves/score marks on the brake rotor. Overtime, pads can create grooves in a rotor, as well as any small rocks or other objects that were picked up by the wheel. If you perform a visual inspection and don’t notice anything obviously warped about the brake rotors, do not rule them out immediately! Warped brake rotors can be difficult to identify simply by a visual inspection. It does not have to be a few very obvious dips or rises in the rotor to be considered warped.
Replacement
Replacement of a brake rotor is a relatively quick and simple process whether you’re replacing front or rear brake rotors.
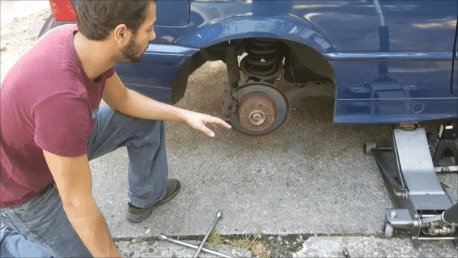
- The first step to replacing the front brake rotors is to loosen the lug nuts on both front tires and jack up the front end. Personally, I jack up both sides and place jacks stands on both sides instead of doing them one at a time.
- Once the wheels have been loosened and the front end is on jack stands proceed to removing the wheels.
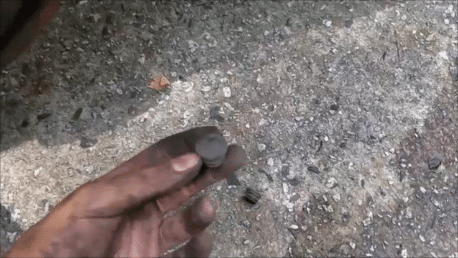
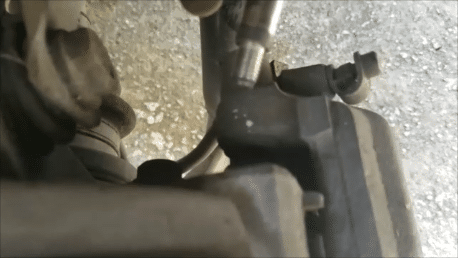
- In order to remove the brake rotors you first need to remove the caliper and the caliper bracket. Remove the two plastic piston bolt caps, the bolts are 7 mm hexes. Remove the bolts.
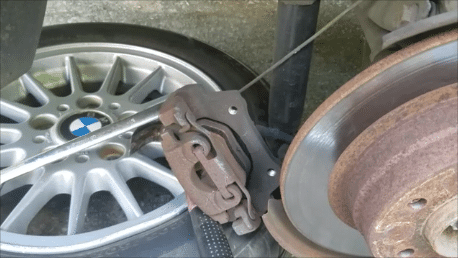
- Hang the Caliper by a bungee cord or simple use the tire (what I do).
- Remove the two Caliper Bracket studs, these are typically torqued down quite a bit and may require a breaker bar. The great thing about removing front end brake rotors is that you can turn the wheels to get a better angle with a breaker bar.
- The only thing holding in the rotor is a small hex bolt, remove it and hopefully the rotor will simply fall out.
*Didn’t fall out? Unfortunately, it usually doesn’t. Brake Rotors get rusted onto the hub on the face where the wheel studs go in. You will probably need a combination of pb blaster, and a rubber mallet.
*Normally your not supposed to hit the rotor where the brake pad makes contact with the rotor, however since it’s being replaced anyways it doesn’t matter.
Once you have the brake rotor off installation is simply the reversal of removal.
*Remember that you will need to compress the brake caliper piston in order to re-install the brake pads, do not forget to open up the brake fluid reservoir.
Hope this tutorial helped, overall e36 rotor replacement is a fairly quick repair and can save you several hundred dollars!
Check out this bmw e36 brake rotor replacement video for additional tips.

